For this week tutorial show me about
- advance techniques of filters effects
- editer and enchance images using level
- curve and creating alpha channel
- texturing the background effects
The step..
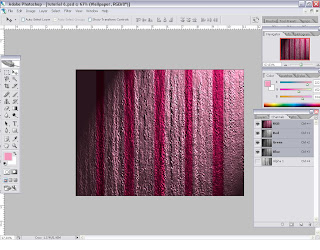
Create new blank background and put the color. Then draw a horizontal rectangle using Marquee tool and duplicate the rectangle into 5 line
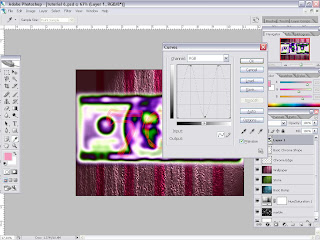
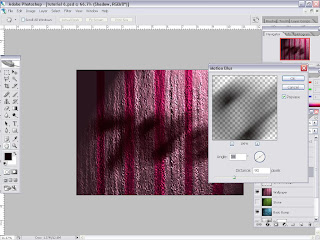
 at the channel palletes, create new layer call Alpha 2. Then, go to Filter -> Render -> Lighting Effects and change Texture Channel into Alpha 2 and adjust the Height
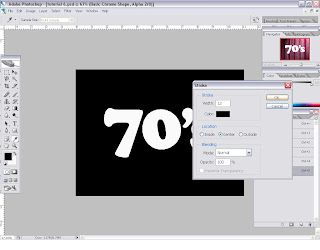
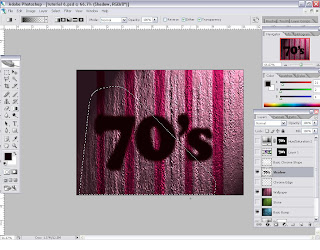
Go to Path palletes and select it. Go to Layers pallete and create new layer and rename it as Basic Chrome Shape. Press Alt+Backspace to change the background color into white. Go to Channels pallete create new Alpha which is Alpha 3.
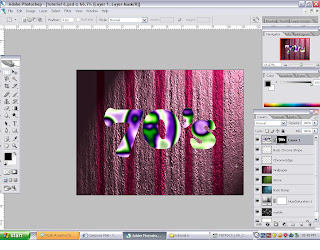
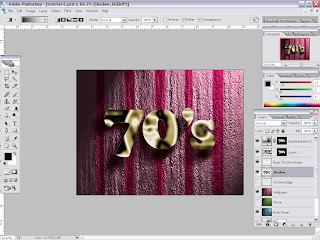
Open the file Twenty.psd and put it infront of 70's and blur it using Gaussian Blur. Load the file that had saved at the desktop. Add layer mask into the Layer 1. Change the effect into Difference.

1 comments:
lorh...sikit je
Post a Comment