As I promised this is my assignment 2. I'm not so satisfied but this is the best effort that I had put in my work..let's go with the step how I do this digital wallpaper..
*************************************
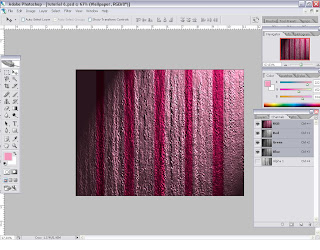
-I got this wallpaper from deviantart.com and i decided to put it as main background for this digital wallpaper-
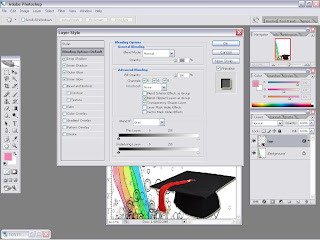
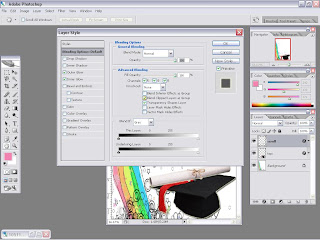
-Open the graduation cap image, select using Magnetic Lasso tool and drag it into the wallpaper-
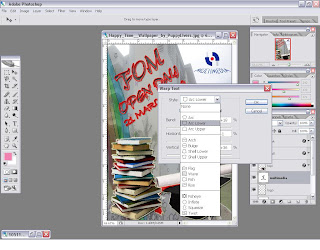
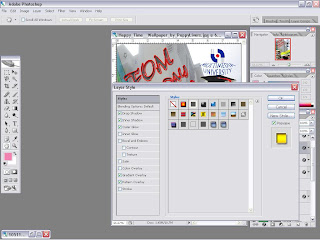
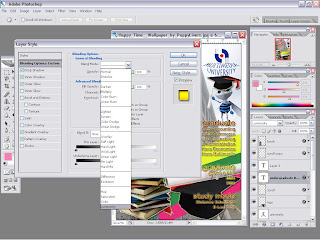
 -open Layer style for graduation hat file and adjust the blending options-
- for this image, i choose Drop Shadow, Inner Shadow, Outer Glow & Inner glow-
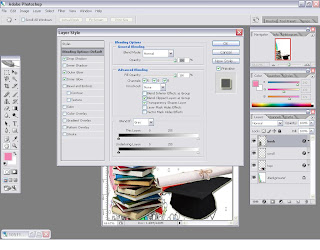
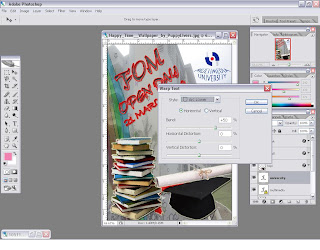
-the same step goes to scroll image-
-select using Magnetic Lasso tool and drag it into the main background-
-put it above the hat-
-using Layer style, i choose same as the hat which is Drop Shadow, Inner Shadow, Outer Glow and Inner Glow-
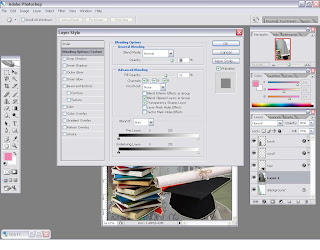
-put the book into the background, open layer style and i choose Drop Shadow, Outer Glow and Inner Glow-
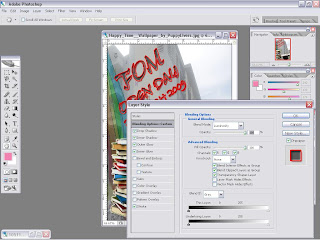
-to make the digital wallpaper is related with the theme, i pick FOM building pictures to put it in the background-
-adjusting the size to make it fit with the actual size-
-open Layer style, adjust the General Blending -> opacity into 90% and Advanced Blending -> Fill opacity into 70%.-
- the FOM building look blur and put it above Background layer in the Layers palette-
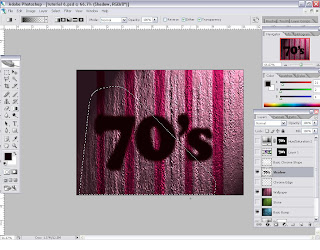
- after that, i put text which is the title for this digital wallpaper-
-the title that been used is FOM OPEN DAY followed by 21 MARCH 2009-
-the font used is Arial Rounded MT Bold and put the size to make the title readable-
-I adjust the Layer styles and for this styles i choose Strokes which is the red line color to make it more outstanding and attracting-
-I pick MMU logo and put it at the right top of the digital wallpaper-
-below the MMU logo, insert the text Multimedia University-
-for the word 'Multimedia', i select Warp Text and choose Arc Lower for the text style-
-same text style applied to word 'University'-
-open the eBee image, crop it and drag into the background-
-using Magic Wand tool and Brush, i change the white background color to make it same as background color-
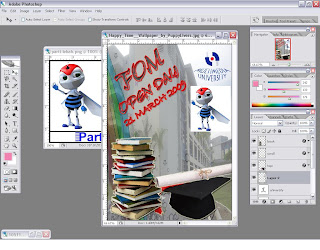
-after that, i duplicate the graduation cap and scroll by press ALT and drag--adjust the duplicated image and i put it at eBee as shown below-
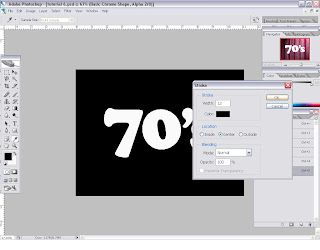
 -draw a rectangle and make it as a 3 different color-
-put it behind the scroll, cap and book-
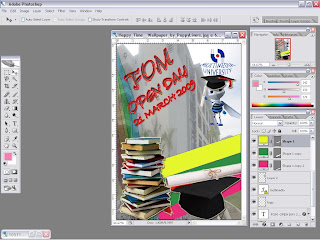
-to insert the text, i choose one of the Layer styles below at the Styles-
-create new text and put the courses offered by FOM and categorized itinto Undergraduate, Postgraduate and Study Mode-
-open Layer styles and i choose Luminosity as a Blend Mode-
-I also put the mmu website under the title and apply Monotype Corsiva font and size 36-
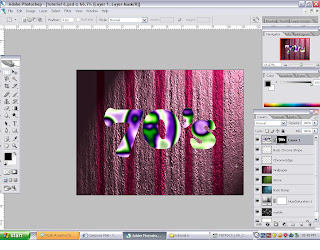
-i make the final touch up for each image and tadaa..
-The Result-

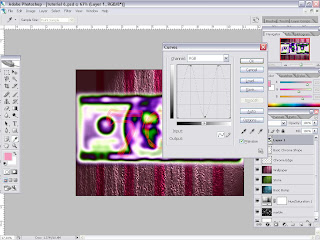
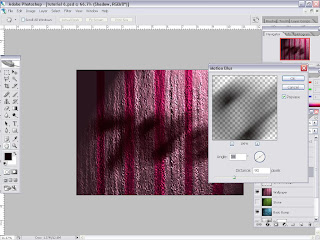
 at the channel palletes, create new layer call Alpha 2. Then, go to Filter -> Render -> Lighting Effects and change Texture Channel into Alpha 2 and adjust the Height